Recently I got a employee registration form in “docx” format and I can only assume that after I wrote all my information into the form HR copied it from there into the corresponding system. I thought to myself: That could be done easier. So I wrote a SpringBoot application, that offers a downloadable PDF form where the data can be inserted and this form then can be uploaded to the application and is processed. And by processed I mean the data is taken an converted into JSON, XML and SQL. That’s enough for the scope of the application and shows how easy it is to do something like this.
The project can be found here. It is a regular Gradle project that can be build without any editor support.
gradlew.bat build
java -jar build/libs/goa.systems.empman-0.0.1.jar
The page then can be accessed on “http://localhost:8080” and shows this site:

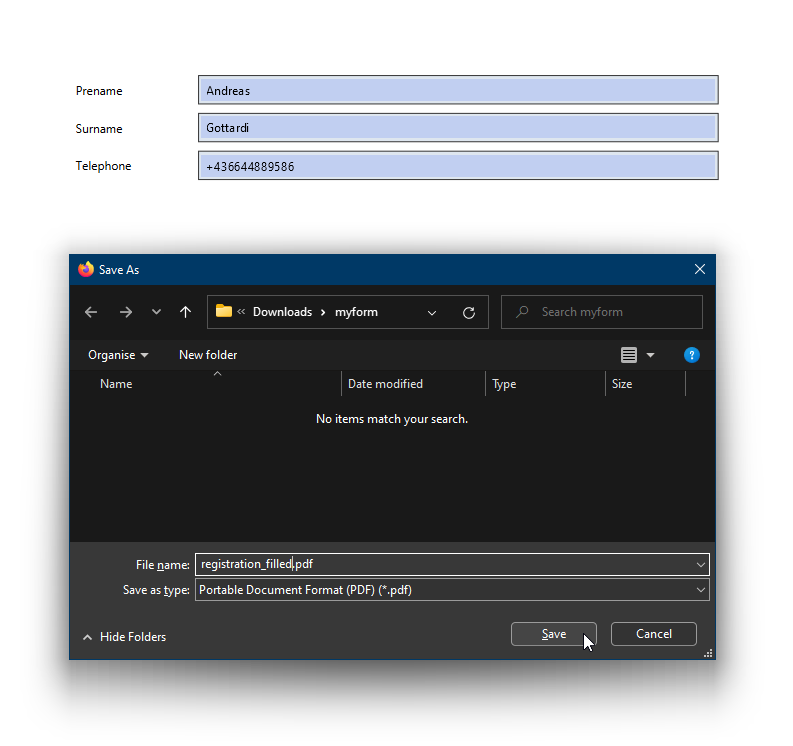
Download the PDF file via “Download registration form”, fill data and save it:
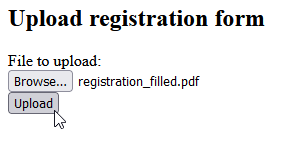
Now choose “Browse…” and select the saved form
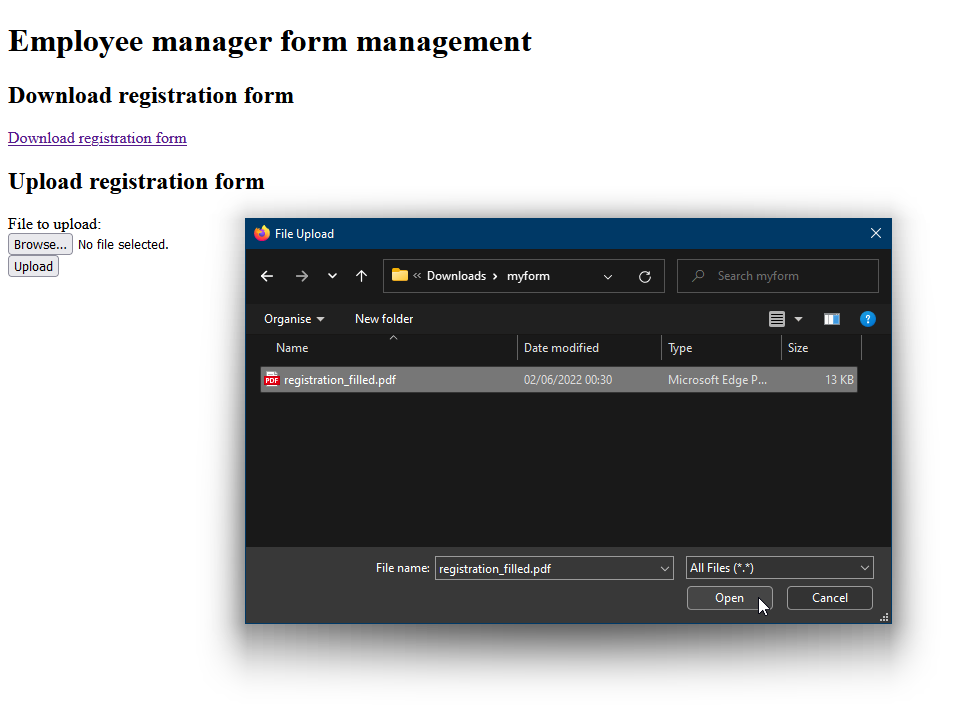
Select “Upload”
The system will provide a additional validation step to make corrections if something is wrong:
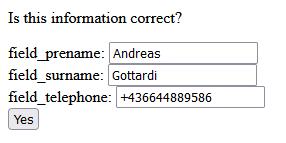
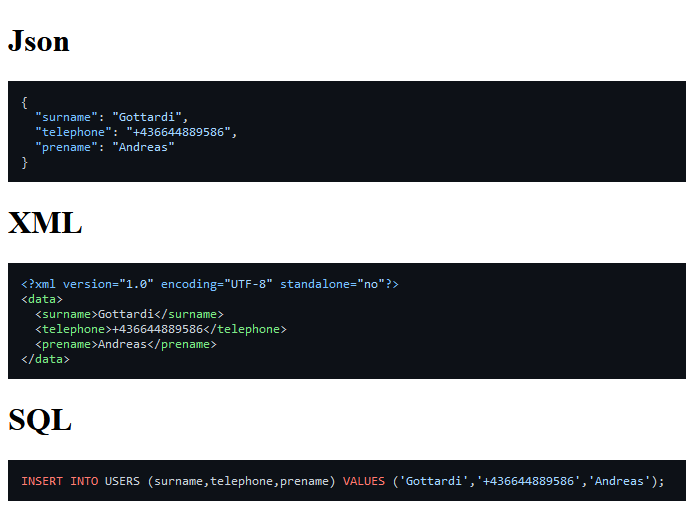
Select “Yes” and the system will now generate a JSON and a XML data structure. Additionally a SQL INSERT command is generated.
The PDF form was generated with “Libreoffice Writer” following this tutorial. The only convention is, that the text fields must have the prefix “field_”. They look like “field_prename”, “field_surname” and “field_telephone”. The fields are parsed dynamically from the PDF form. So if new fields need to be added, the application does not have to be changed.